File Edit Search Help
- "Shrinky Dink" or #6 plastic
- Markers, paint or paint markers.
- Scissors
- sheet pan
- a heating source (like an oven, toaster oven, or a heat gun)
- hole punch (optional)
- UV resign / Clear Nail polish (optional)

DIY Charms/Pins Tutorial
(kinda like diy acrylic charms)
Heres a dumb little "tutorial" on how I've made my own charms / pins. Passing down my mediocre knowlege of making shit down onto those who need something to do.
- MATERIALS:
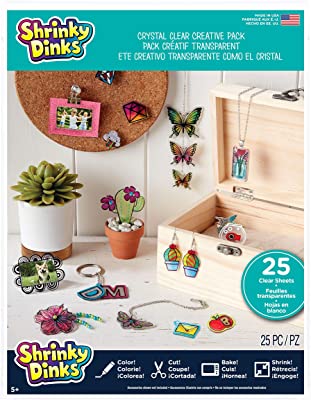
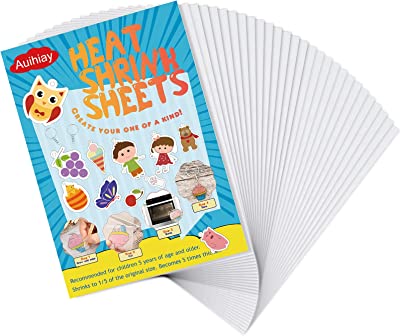
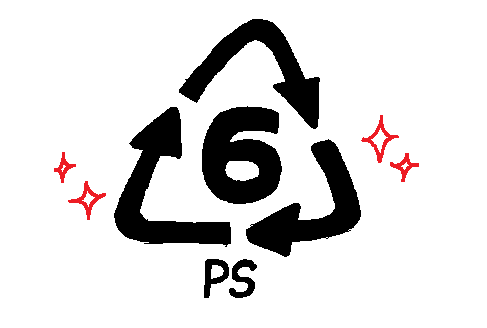
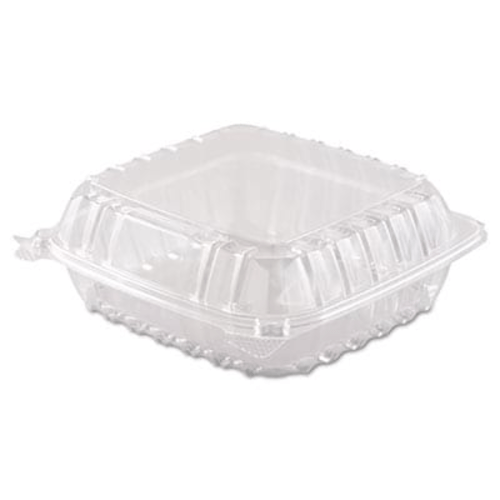
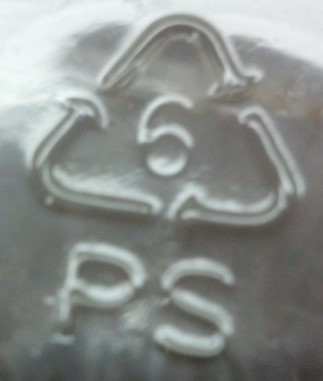
By the way: Shrinky dink plastic can be found on amazon or in stores like walmart and target for around $10-$20, which isn't too bad but if you can't or don't want to get this plastic from these stores; #6 Plastic or Polystyrene will work just as fine. Any Polystyrene Plastic has this #6 symbol on it and i've usually found it as like takeout container lids (which can also be found at dollar stores). BUT WE ARE NOT USING STYROFOAM! Just the clear plastics.
Step 1: Prep
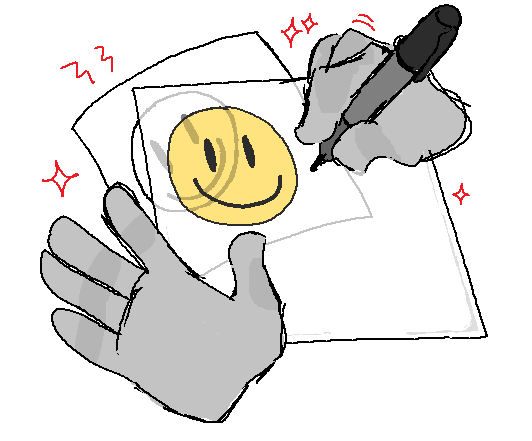
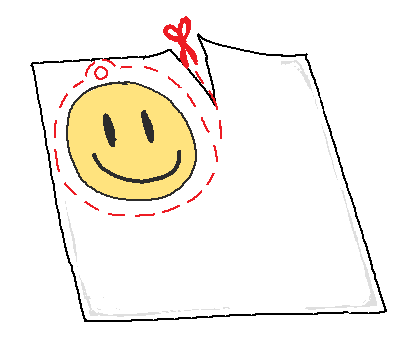
First step is just drawing your design onto the plastic. Since most of these plastic are transparent its pretty easy to have something already made (like a sketch on a seperate piece of paper or an image printed out) and just trace that. Pretty much anything works, permanent markers, sharpies, acrylic paint, paint markers. I usually use acrylic paint markers for these but honestly it's entirely up to trial and error and your own personal tastes.
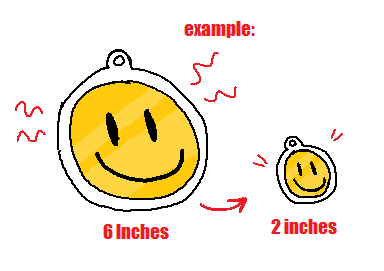
Do keep in mind that when it shrinks it becomes about 1/3rd of its original size so you're gonna have to make the design pretty big depending on what you're going to make. So for like keychains make your original design about 6 inches and it'll shrink down to about 2 inches.
Some things to know when coloring your keychain is that if you are using markers, the colors will be more saturated after they're done shinking. And if you are using paints be sure not to use too much or else the paint might end up cracking.
And be sure to leave some space when cutting it out and if you want this to become like a keychain be sure to cut out a hole using a hole punch or some scissors so you can attatch a keychain to it later.
Step 2: Baking
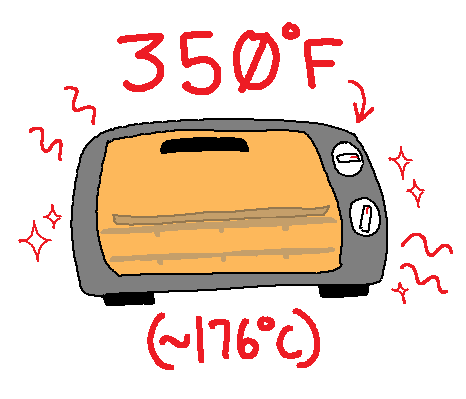
Preheat your oven to about 350 degrees and have a baking sheet or a flat pan out, I reconmmend having some parchment paper but It usually will work fine without it. The charms will usually take a few minutes to cake and you can usually just watch them as they shrink, they're pretty quick to react. be sure not to step away and keep an eye on them though because they could bubble and melt if overcooked. Just bake them until they shrink and flatted down a bit and then you can pull them out.
One thing I like to do right after they come out of the oven and they are still soft is flattening them under a flat heavy object like a book. Just helps them look a bit nicer but its completely optional if you don't wanna risk messing them up.
Optional Step 3: Protection
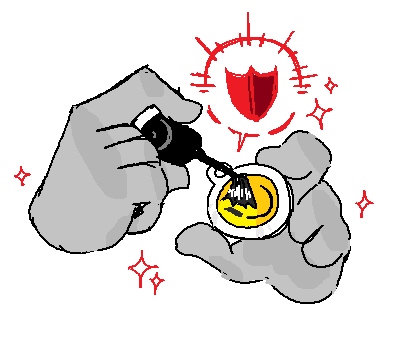
If you want the design to Last longer, I usually get myself a bottle of UV resign and spreading a bit ontop. Some clear coat nail polish would also work just fine. If you do get UV resign you can put it out by a window where it get sunlight and let it cure under there, otherwise any of those sinple nail lamps that are used for thsoe gel nail polished also work.
To remove the stickyness I usually wipe them down with some rubbing alcohol and then they should be all good to go. Remember to add your keychain if you had a hole punched out for one, or even glue on some pin backs to make it a pin.
And there you go, Hopefully this tutorial was useful to someone out there, I've used shrinky dink / Polystyrene plastic for keychains, pins and charms for bracelets so you're able to really use this for whatever.
Feel free to let me know if this was simple tutorial was useful to you,